Search the Omeda Knowledge Base
Odyssey – Email Element
The Email element can be added to any voyage and can be used to create an Email that will deploy to your audience.
After adding an Email element to your voyage canvas and clicking the element, the voyage creator can then provide the Email details within the element inspector on the right side of the canvas.
Using the Email Element
The Element Name will be set to “Email 1” by default but this can be edited to better describe the Email in the context of your voyage.
There are four sections within the Email element:
- Message Details
- HTML
- Text
- Testers & Seeds
- Content Recommendations (this will be available only for Content Recommendations users)
Message Details
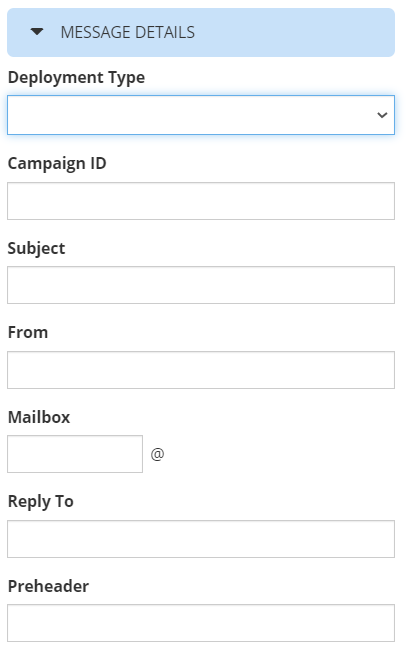
Within the Message Details section, the following fields are available.
- Deployment Type: Here you can select the appropriate deployment type for the content that you are sending. Selecting the deployment type will do several things:
- The unsubscribe link merge variable, when populated in your Email content, will be associated with this deployment type.
- Audience members that have previously opted out of this deployment type will be automatically suppressed. It is also recommended that opt outs from this deployment type are suppressed from your Audience Sources, so that your counts accurately reflect what will be delivered.
- The testers and the seeds associated with the deployment type will be created.
- After selecting a deployment type, a pop up may appear asking how you’d like to apply the default values for the deployment type. You can choose to apply all defaults or only apply defaults to fields that are blank.
- Campaign ID: This field allows you to assign an internal “ID” number/promo code/campaign ID to the emails within your voyage, which will provide further reporting capabilities.
- Subject: This field allows you to enter a Subject line for the deployment. If a Subject line was provided in the Default Settings, this value will be populated if you opted to apply the default values. The character limit for this field is 255 characters, but the recommended length is 41-50. This is a required field.
- From: This field allows you to enter a From line for the deployment. If a From line was provided in the Default Settings, this value will be populated if you opted to apply the default values. This is a required field.
- Mailbox: This field allows you to enter a Mailbox for the deployment. If a Mailbox was provided in the Default Settings, this value will be populated if you opted to apply the default values.
- Reply To: This field allows you to enter an email address for recipients to reply to. If a Reply-to were provided in the Default Settings, this value will be populated if you opted to apply the default values. If no Reply To is provided and a recipient clicks ‘reply’, their response would not be sent.
- Preheader: This field allows you to enter a Preheader for the deployment. The character limit is 100 characters. Depending on the recipient’s email client, the number of characters visible in their inbox may vary.
HTML
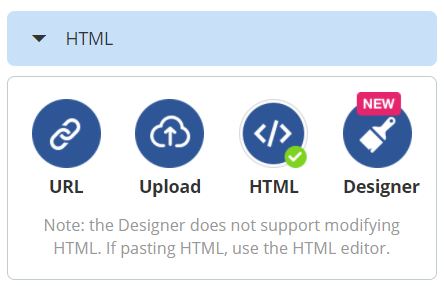
The HTML section is where you will provide the HTML version of your content. There are four methods available for you to provide content:
- URL: With this method, you can provide a URL where your HTML content is stored and Odyssey will fetch the content.
- Upload: With this method, you can upload and html file.
- HTML: With this method, you can create the HTML or use Odyssey’s HTML editor to create your content. Here you can also use the Insert Merge Variable function to insert the merge variables present in your Audience Source files. There are also a number of merge variables like Date, Unsubscribe Link, and Forward to a Friend, available for you to populate in your content.
- Designer: With this method, you can use our built-in email designer which enables you to create and use saved templates and drag and drop functionality to build your email content. Read more about this here.
Plain Text
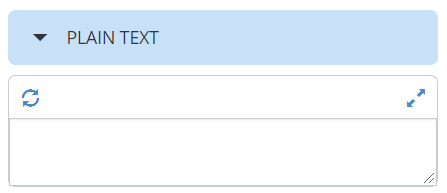
This section is where you can generate or create the Text version of your email.
Click the ‘Generate’ icon on the top left, to generate your text content from your HTML content.
Click the ‘Expand’ icon on the top right to retrieve your text content from a URL, upload a file, or create your Text content.
Content Recommendations
In this section, if you have access to Content Recommendations in Odyssey, you can set up your email element to use Content Recommendations.
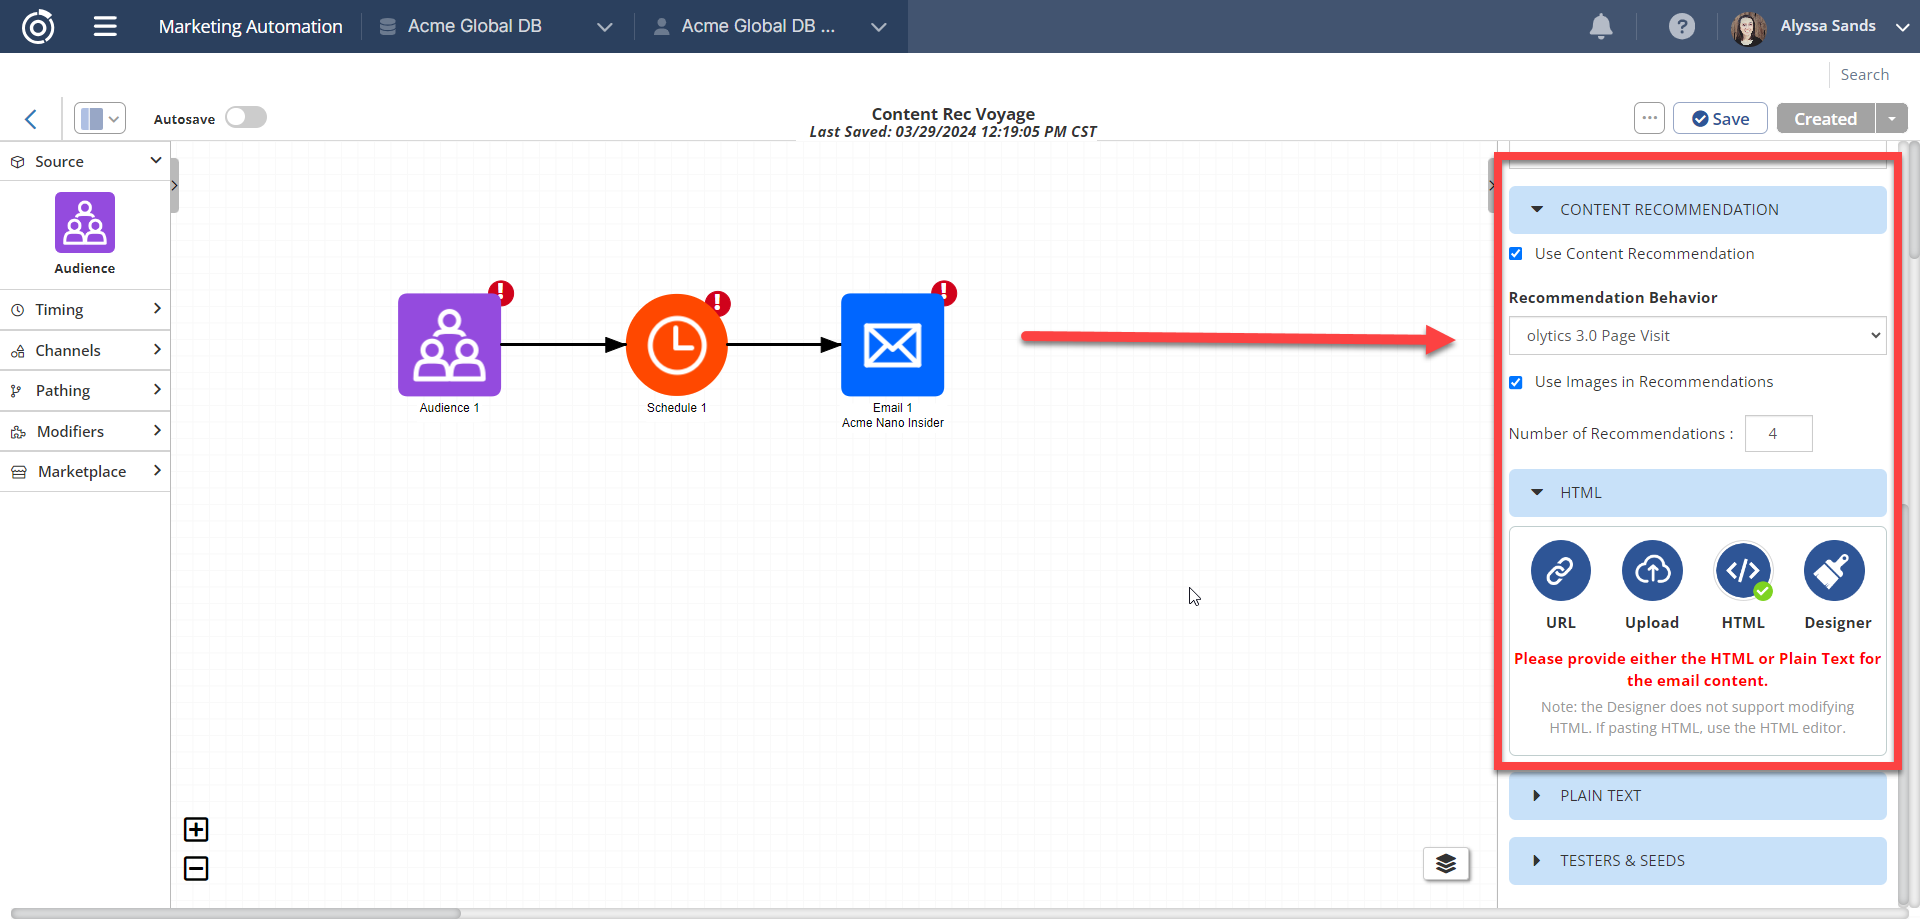
In the Content Recommendations section:
- Select the Use Content Recommendations checkbox
- Select the behavior the recommendations should be based on
- If you would like to include the image from the recommended url, check the Use Images in Recommendations checkbox. Checking this will exclude any recommended links that don’t have images.
- Specify the number of recommendations you’ll include in your email.
After selecting from the above, in the WYSIWYG editor, several merge variables for each link can be inserted via the Insert Content Recommendations tool.
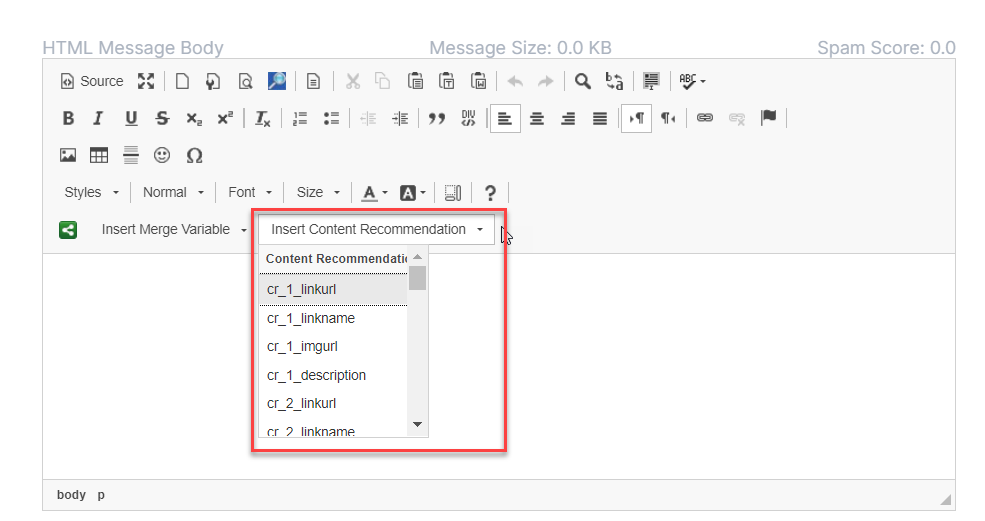
- cr_X_linkurl : this will be populated with the url for the recommended page.
- cr_X_linkname : this will be populated with the name of the recommended page. This value will equal the title value in the page’s metadata.
- cr_X_imgurl: this will be populated with the image for the recommended page. This value will equal the og:image value in the page’s metadata.
- cr_X_description : this will be populated with the description of the recommended page. This value will equal the description value in the page’s metadata.
- In the Designer, these merge variables will available to insert into content via the Merge Tags selector.
Use Content Recommendations box is checked, you can select the behavior you’d like to use for your recommendations, choose whether you will use images in you recommendations, and select the number or recommendations.
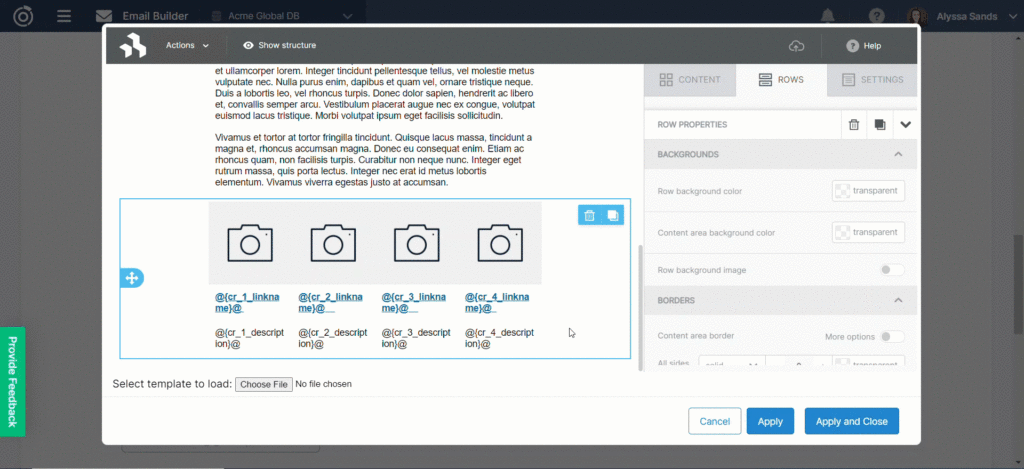
Note: the Image content element in the Designer is unable to render merge variables so values are cleared. Users can populate the content in the designer using a placeholder image and edit the html to contain the correct merge variables.
After Content Recommendations merge variables are entered into the content, users can set the default value for each merge variable. These values will only be used for recipients who don’t have individual recommended links AND where there are no available top link to recommend. These default values can be set at the deployment level or in Deployment Defaults
Testers & Seeds

In this section you can review and modify the Testers and Seeds associated with the deployment type and create new Tester or Seed recipients.
By default, the creator of the Voyage will be a Tester and Seed and listed in the table.
Testers will be indicated by a checkmark icon in the Tester column. To change a Tester to a Seed recipient, click the checkmark. It will then appear as a dash icon. A Tester or a Seed can be removed by clicking the ‘X’ icon in the Action column.
New records can be added by filling out the First Name, Last Name, and Email address fields and clicking Add Tester.
After making changes click Apply.
Using the Email Element after Publishing Your Voyage
When your voyage is saved for the first time it will move to the status ‘Published’. This will allow you to review the Link Tracking settings that will be applied to your content as well as allow you to send a Test send.
Link Tracking
When the ‘Manage Link Tracking’ button is clicked in the Link Tracking section of the Email element, the above modal will open, displaying the links that exist in your content and their link tracking settings.
By default, Link Tracking will be enabled. Olytics Tracking may be enabled by default depending on the default settings for the Deployment Type.
Each link can be expanded and the default link name can be change, as well as the tracking settings.
Link Categories can be applied to all links by selecting a Category default Value at the top of the modal. Individual link categories and keywords can be applied by selecting each link and editing.
Sending Tests
At the bottom of the Email Inspector, three buttons will appear to allow you to send a test of your email.
- Send Test: this option will send a Test Deployment to all Testers. Testers will be able to provide a comment and an approval status.
- Send to Me: this option will send the Email the current user.
- Send to One: this option will allow you send the Email to one email address.
Using the Email Element while a Voyage is In Progress
Occasionally an Email may need to be modified while the voyage is In Progress. To do so, simply click ‘Pause’ within the Email element and make any necessary changes to your content. Be sure to save the Voyage and send a test to ensure that the content is changed as expected. When this is complete, click ‘Resume’ and save the voyage to use the updated content for future sends.
Connections and the Email Element
Each element in a Voyage can be connected to and from a subset of other elements. The available connections for the Email Element are listed below.
| These elements can connect to a Email element | These elements can be connected from a Email element |
| Schedule Wait Split Filter Pathfinder | Wait Stop Filter Form Submit |