Search the Omeda Knowledge Base
Campaign Tool – Overview
Overview
Our Campaign Tool allows you to perform 4 key functions for your campaigns:
- Setting up promo codes
- Uploading images for use on your Omeda hosted web pages (if applicable)
- Uploading voucher codes from social purchase sites such as Groupon or LivingSocial
- Creating Lead Gen Campaigns
- Creating Lead Score Events
A promo code is required in every product order. Promo codes consist of much information such as the promo channel, product and pricing, and the offer details. You can then analyze how the promo channels and pricing affected your sales through the various reports Omeda offers.
You may have a product image that’s associated with various promo codes. To display any images in Omeda-hosted subscription pages, these images have to be secure (https). If you do not have secure image hosting, you can use the Omeda campaign app to upload the images.
Finally, for your sales on deal sites such as Groupon and LivingSocial, you can easily associate the voucher codes with the specific promo codes and upload them using the Campaign app.
Launching the Campaign App
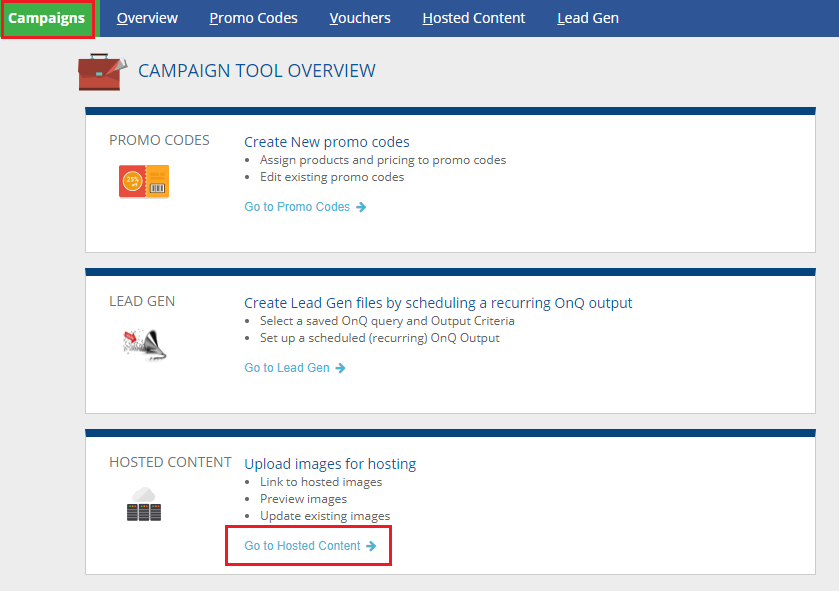
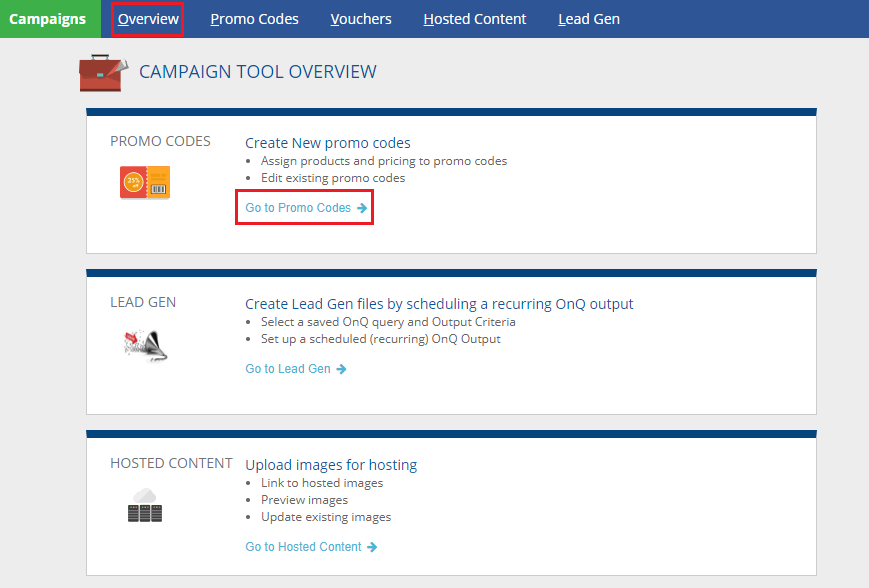
The Campaigns section is located in the Omeda menu under “Manage.” Clicking this link will bring you to the Overview page for the Campaign Tool, which includes the following tabs:
- Overview
- Promo Codes
- Vouchers
- Hosted Content
- Lead Gen
- Lead Scoring
Uploading Images
You can find the Hosted Content link at the top of the Campaigns Overview page or by clicking on “Go to Hosted Content” midway down the page. You can also find it within “Email Builder” in the Omeda menu under the CMS tab.

The landing pages hosted by Omeda require all images to have secure hosting (https). If you do not have secure hosting, then use the Campaign app to upload your images to get a https url for each image. Omail does not require https for any of the images to be displayed in the Omail content.
- Click the Campaign app and click Go to Hosted Content.
- You can upload your image files under the Hosted Content Upload section. Your image files must be of jpg, jpeg, gif, png or bmp file type and it must be less than 2Mb. If you upload files with the same name, the latest one will overwrite the previous image.
- Select a Client.
- If image will be used by multiple clients select the Client Level checkbox. Otherwise, select the Brand your image is for.
- To upload an image, click “Select one or more files” and open the files from your computer.
- Click Submit Files once they have been selected.
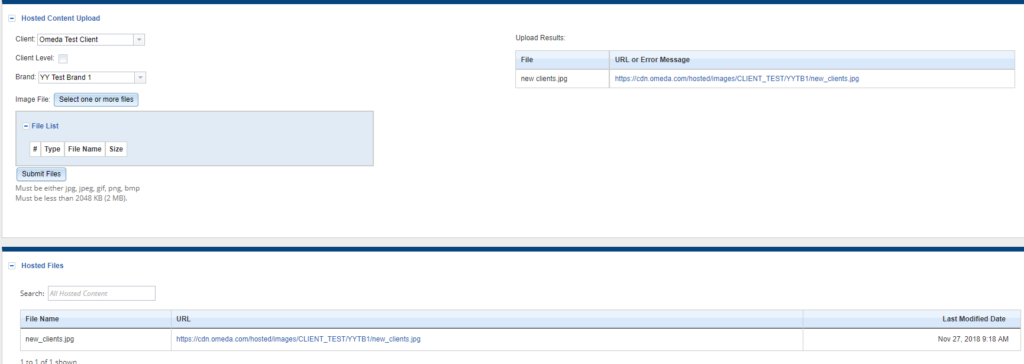
- Once the images are uploaded, ensure you copy the URL so you can paste it into your promo code html or Omail content.
- You can also search for existing image files in the Hosted Files section.
Setting Up Promo Codes
A promo code is required in every order so we can track the promo channel (the channel the customer receives the promo code), sales channel (the channel the customer orders with the promo code) and also display the products and offer details eligible for each promo code. You can create a promo code or upload a list of promo codes in the campaign app.
Creating a Promo Code
To create a promo code follow the steps below.
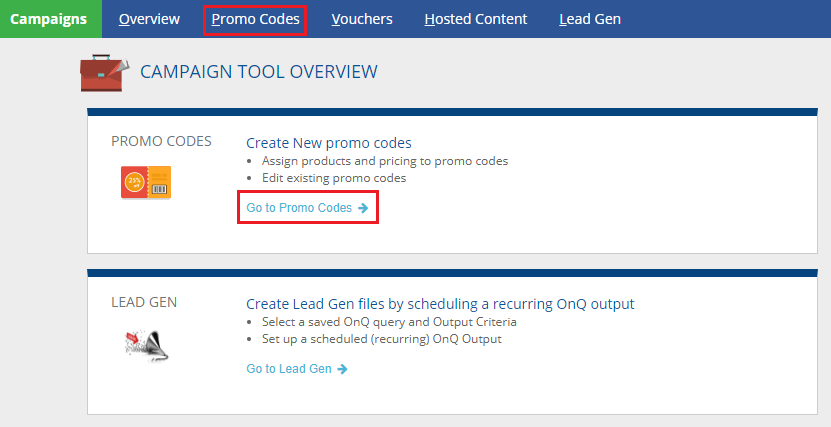
- Click the Campaigns app and Go to Promo Codes or the Promo Codes segment in the banner.
- After you enter the search term and click Perform Search or if you click Load All (may take awhile as you may have thousands of promo codes), you will see a list of existing promo codes for your brand. You may edit and delete any promo code that is not active yet. Once a promo code is active, you may neither edit nor delete it.
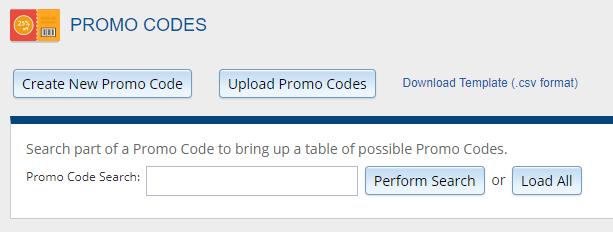
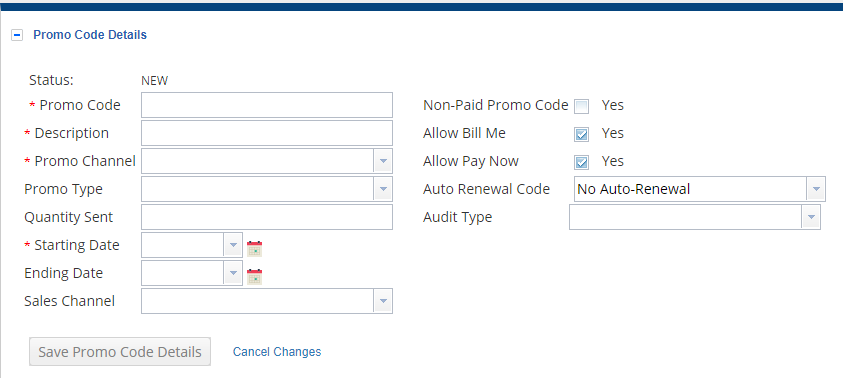
- Click the Create New Promo Code button.
- Enter the Promo Code (alphanumeric, no spaces), description and any other fields. The Promo Channel is the channel that you use to send the promo code to the customer. Sales Channel is the channel the customer used to order your product with the promo code.
- If the Promo Channel is set to Web, you will be allowed to paste html content for this promo code in another section. For web promo channels, that means a customer is coming to a landing page and you would want the offer details associated with that promo code to be displayed on the landing page. For some clients, they can also paste html content if the Promo Type is set to Renewal (even if the Promo Channel is not web).
- If you select Web for Promo Channel, then the Sales Channel is a required field.
- Once all changes have been made, click the Save this Section button.
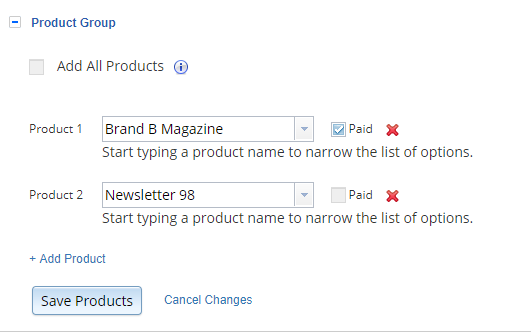
- The Product Group section will appear.
- Optional: Existing Product Group. If you have many promo codes and you’d always apply them to the same group of products, then contact your Omeda Client Services manager and we can pre-populate this dropdown. What it does is it’ll automatically add the subsequent products in the section.
- If the promo code is non-paid, you will have an option to check “Add All Products”. This will automatically add all products except for single copy sale to this promo code.
- Select Product 1. If it is a paid product, select the paid check box.
- If there is a free product included select one from the drop down menu. To add another click “Add Free Product”
- To add another product click “Add Product”
- Once all products have been added click the Save this Section button.
- The Pricing for Selected Products section will appear if you had marked any product(in the Product Group section) as Paid.
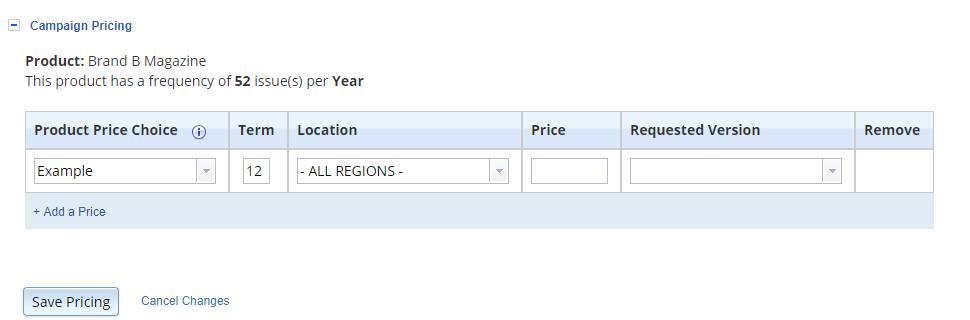
- Create a Product Price Choice.
- Enter Term.
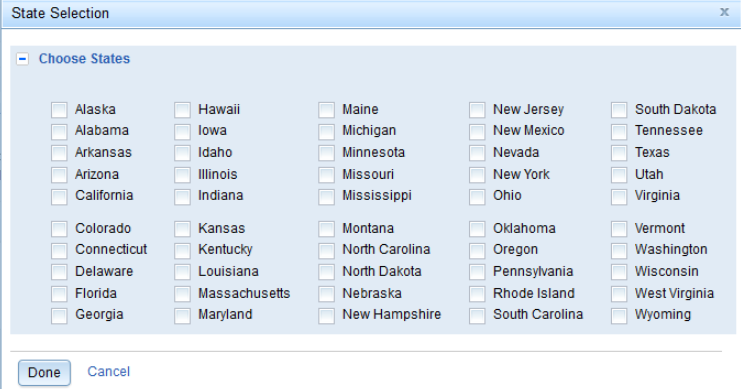
- Select a location and you may even set state-specific pricing by selecting “Multiple US States”
- Enter Price.
- Once changes have been made, click the Save this Section button.
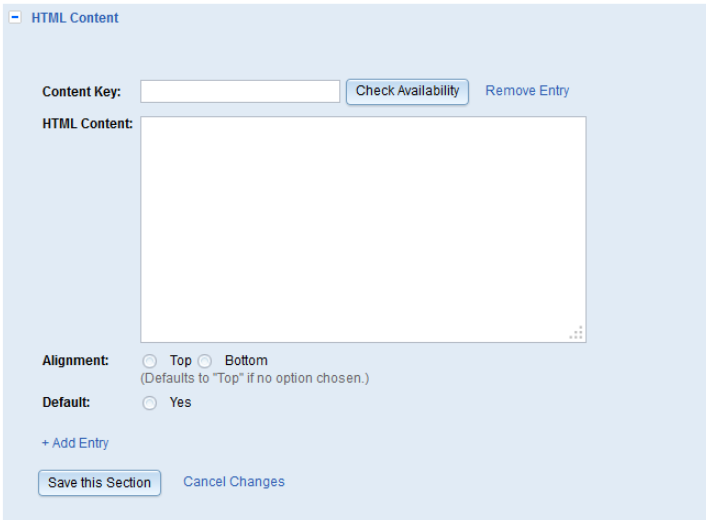
- If you want Omeda to host your webpages and show different content based on the promo codes the customer enters on the webpage, you have the option of providing the HTML to us. If your Promo Channel is Web, you may add html you’d like displayed in the HTML Content section. This is where you can paste the URL of the hosted images that relate to your specific promo codes.
- Enter Content Key. To check the availability of the content key click “Check Availability”
- Paste your HTML Content into the HTML Content box.
- Select Alignment.
- Select if it is default or not.
- Once all changes have been made click Save this Section.
- Click Activate at the bottom of the screen.
Uploading Promo Codes
Instead of creating the promo codes one by one, you can upload a list of paid and non-paid promo codes. For clarifications,
- Within one file, you may have promo codes that apply to paid products, non-paid products or both.
- If you upload the same promo code twice within the same file:
- If the same promo code was saved as paid and non-paid within the same file, the promo code would be updated based on the Non-Paid, Allow Bill Me, and Allow Pay Now fields.
- If the same product was saved both paid and non-paid, the first entry that it come across would be stored. The duplicate entry would be noted in the error report.
- If the same promo code was saved as a non-paid promo code multiple times within the same file, then only the first one will be saved. The additional entries will be logged in the error report.
- If the same product price choice was added multiple times within the same file with different terms, then only the first one will be saved.
- If your file contains a promo code that already exists in the database, that promo code will not be uploaded and the error report will show that it was skipped.
- If the promo code has different pricing for each state or region, ensure you have one entry for each state or region.
To upload a list of promo codes,
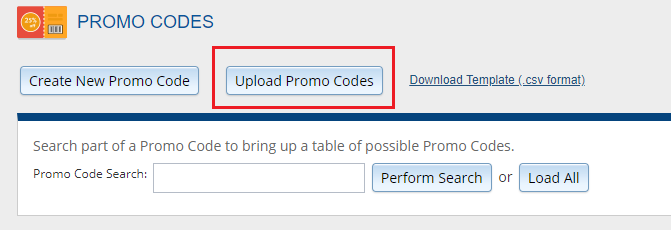
- Click the Campaign app and go to Promo Codes.
- Click the Download Template (.csv format) link. Store your promo code information in this template.
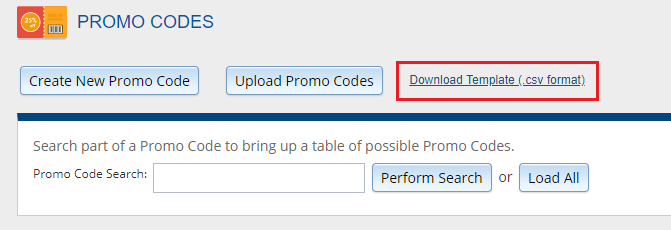
- Click the Upload Promo Code button.
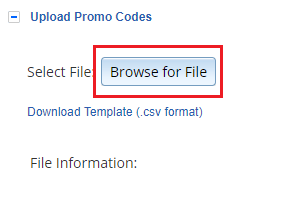
- Click the Browse for File button to search for your promo code file.
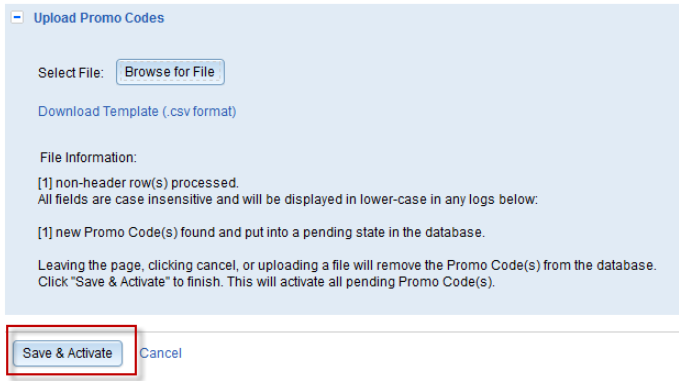
- Confirm the number of promo codes being uploaded are correct. If your file has incorrect data, we will display the error message on this screen and you need to fix the file before re-uploading it. If all data is correct, click the Save and Activate button.
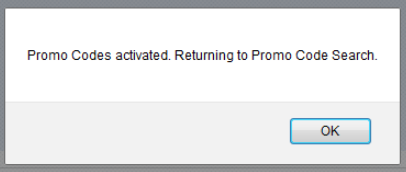
- Once the promo codes are uploaded, you will see a confirmation pop-up. Click the Ok button to close it.
Uploading Voucher Codes
When you sell your products via social deal sites such as Groupon and LivingSocial, you will have many voucher codes which you may associate with your existing promo codes. We can redeem these voucher codes via landing pages when the customer types it in or through the Customer View app when your CSR enters it.
Voucher codes have to be associated with a promo code so you need to create the promo code first. Once that’s complete,
- Click the Campaign app and click Vouchers. You can see if any of the voucher codes you need have already been added.
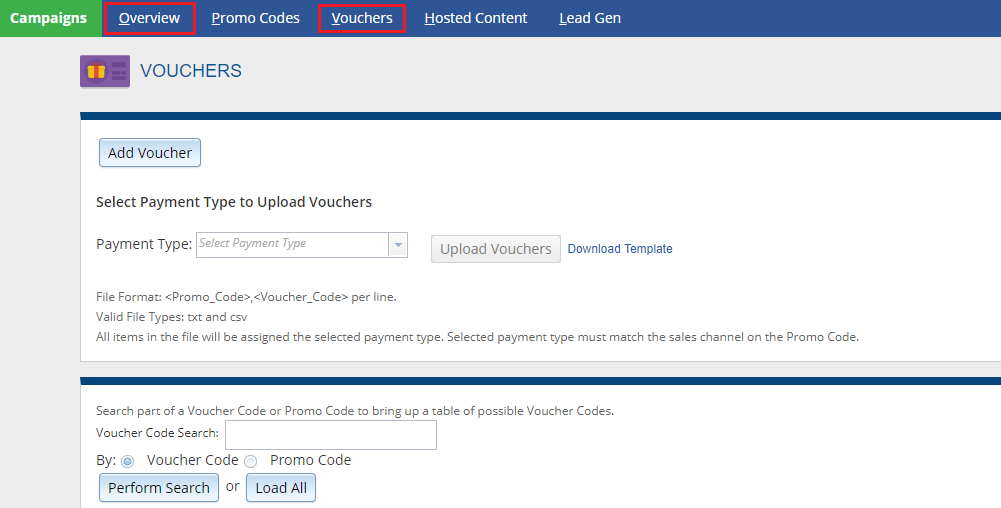
- To add a voucher, click the “Add Voucher” button.
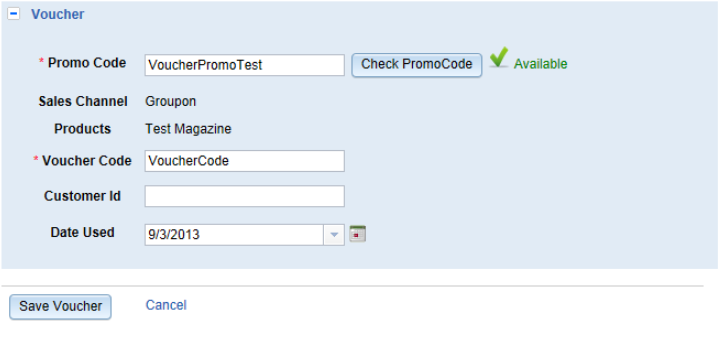
- The Create/Edit screen will appear.
- Type in Promo Code. Since Promo Codes must be unique, you can check to see if the promo code is available by entering your Promo Code and clicking “Check Promo Code”
- Enter Voucher Code
- Enter Customer ID
- Enter Date Used
- Click Save Voucher once all changes have been made.
Uploading A List Of Vouchers
- To upload a list of vouchers, they first need to be in the same format as the template.
- To download the template click Download Template and open the file.
- Select a payment type.
- Click upload Vouchers and find the file on your computer.
- Vouchers in the file will be uploaded.
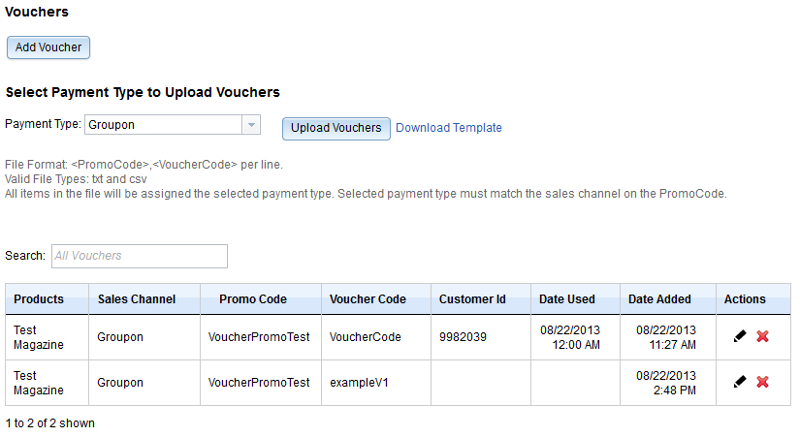
Searching for a Voucher
Type in keywords into the search box to search for a voucher. Related vouchers will appear in the list.
Updating or Redeeming a Voucher
You can redeem a voucher two ways. If you are in the vouchers page within the Campaign app, click the black pencil under the Actions column. You can only update a voucher if both the Customer ID and Date Used have not been filled out. Once both fields have been entered, you may no longer edit or redeem this voucher. The second way is to redeem the voucher in the Customer View app.
Deleting a Voucher
To remove a voucher (redeemed or unredeemed), click the red x under the Actions column.
Lead Gen Event Setup
Using the Lead Gen tool is very helpful for getting lists output on an automated, recurring fashion, based on a segment query. The list will either be sent to an SFTP location or sent to email address(es) that are designated. To set up your Lead Gen Event, you will have to have a previously established query. Instructions for setting up a query can be found here.
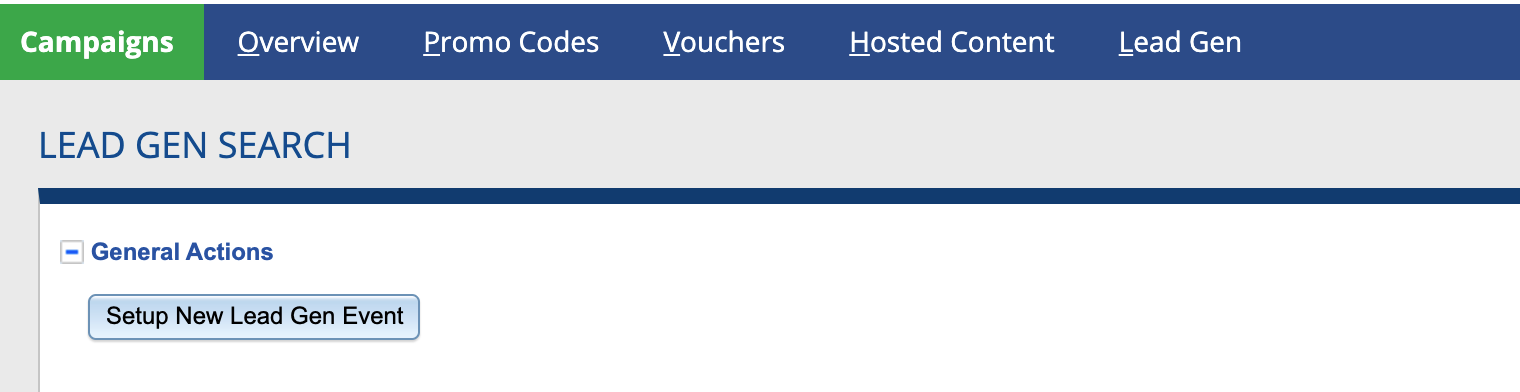
Once you’ve created your query, navigate over to Campaigns (Menu >> Manage >> Campaigns) and select Lead Gen.
Choose “Setup New Lead Gen Event” at the top:
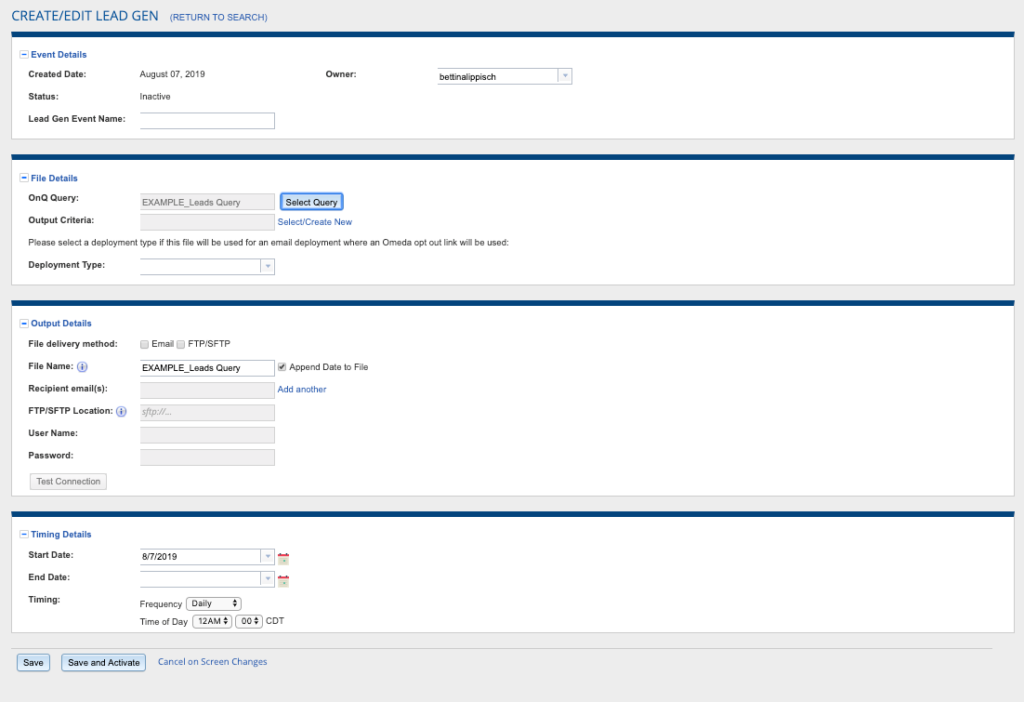
Setting up a New Lead Gen Event
- Name the Lead Gen Event under Event Details,
- Select the Saved Query you created under “File Details”
- Select the Output Criteria under “File Details“. You can either select a layout that has already been established, or create a new one to be used. In addition to selecting the fields you want to output, you will also have the ability to select Sort Criteria, Output Modification Criteria and Set Postal Seeds just as you can when you output a one-time file from Audience Builder. Lead Gen Output Modification Criteria will not allow you to output by group or to multiple files. You may also choose if an output should be generated for empty files. For full instructions on the various Output Criteria, check out the Audience Builder – Query Result Outputs page.
- If needed, select the Deployment Type – This is helpful if you want to exclude any Profile Opt-Outs that apply to the deployment type. (this is not required)
- Enter the SFTP info under Output Details and Test the connection or select email for emailing a link to download – whichever option is preferred
- Enter the desired frequency/timing under Timing Details
- Save and Activate to start the automated export
Lead Scoring Event
Lead Scoring is a tool that will allow you to create Lead Score Events, where you can define rule sets and place values against those rules to calculate a score based on a variety of items. Once the event is active, the calculations will run nightly against the customers in the database. You will have the ability to set up multiple Lead Score Events.
- Define a Lead Scoring Model
- Assign points for actions taken by a Customer
- Run calculations to create Customer Scores
To learn more about Lead Scoring and how to setup a Lead Scoring Event, click here.